
This blur creates blurs that can be similar to a lens blur in Photoshop. This blur is a lot more complex than other blur modes, so while this is more realistic, it also takes longer to render.
The camera lens blur is similar to the lens blur in photoshop. It creates a simulated lens blur on the image.
A part I like is the ability to change the iris shapes and diffraction focus on the image.
Radius: Creates the blur, the bigger the number, the more blur is added to the image.

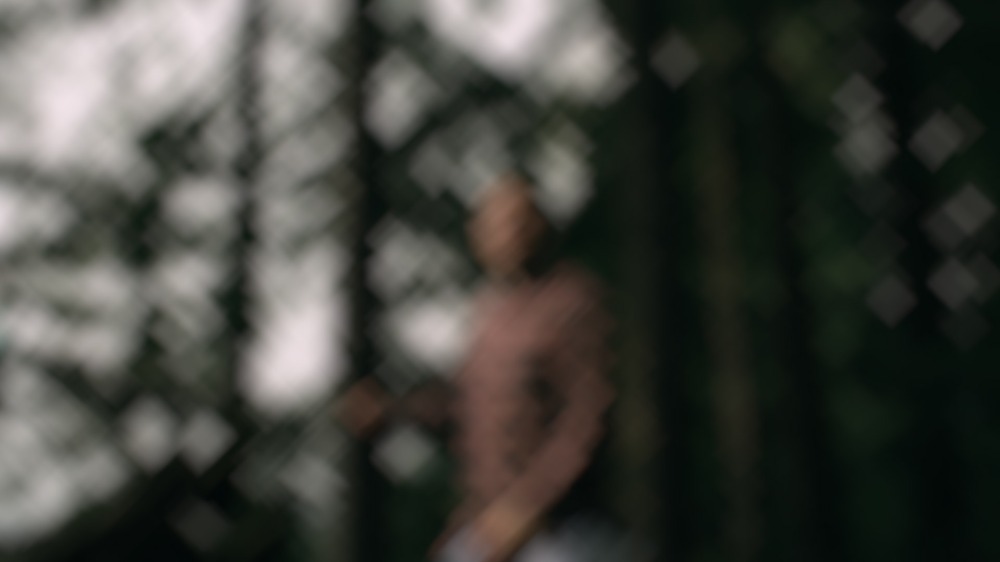
Iris Properties: Creates adjustable iris shapes for the blur. Instead of blurring objects uniformly, brighter objects will have more shaped and ‘bokeh’ style blues. These can be adjusted to various shapes, as well as be rounded, rotated, and diffracted.


The Ratio property allows you to simulate the stretched affect of lense flares in anamorphic film. It looks lovely.
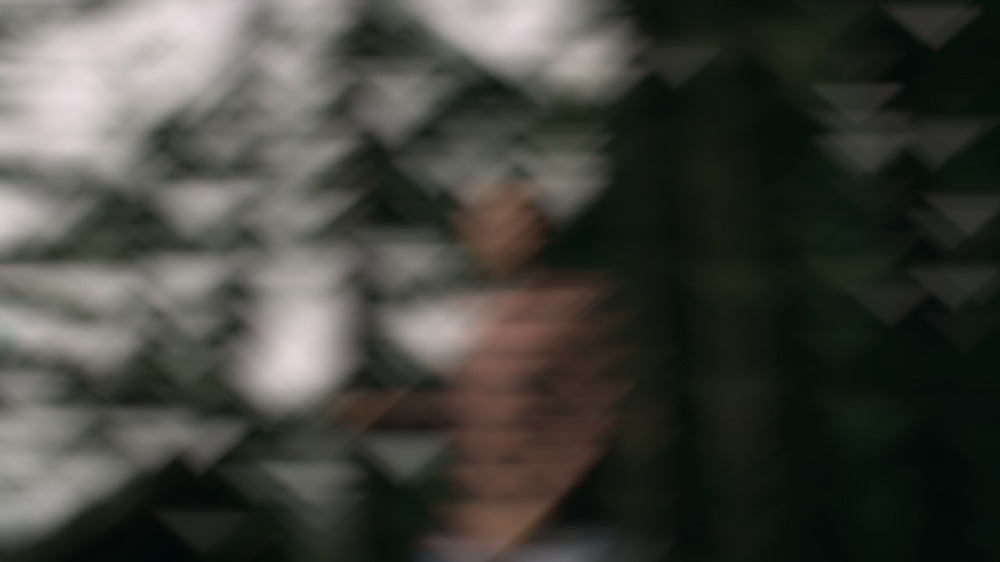

Diffraction Fringe will give the shapes more ‘definition’ as in they will have flatter edges rather than soft bokeh, they will be hard bokeh shapes.
One of the powerful things about this effect is the ability to create a blur map. This map can be any layer in your composition, but that I have found works well is using a black and white layer that represents the object you want to focus. The blur map can be the image you are editing, but what would be most effective would be a mask or shape layer of the piece you want in focus. However, I have noticed the halo effect happening around the subjects. So use with caution.


Channel: You can create some interesting effects if you use the same image as your blur map. Choose a color channel, luminance, or alpha and you can get some pretty neat results.
Blur Focal Distance: The value from 0-255 for what will be considered ‘in focus’ based on the masks luminance value. So 0, would mean that all black is what is focused in the image. While 255 would be white.
Invert allows you to change black to white in the map that you have selected.

The highlights option only works on the lighter parts of an image. Use the threshold from 0 to 255 to limit how much the gain and saturation affect your image.


By checking the “Use Linear Working Space” box, you get a more realistic blur and bokeh effect.


